What are some baby items that you absolutely LOVE? Is there anything you didn’t think you needed, but now you can’t live without? What helps you the most? What was the weirdest, yet coolest thing you received or bought?
Yeah, yeah, we have the girls so we already have lots and lots and lots of baby stuff. But I’m just wondering if there is something really neat/helpful/awesome out there that we just don’t know about because we don’t have it, or have never heard of it, or just thought we didn’t need it. I don’t want to miss out on anything! And since Will just arrived, I figured we could make a fresh start with him, or even find something great for the girls! So leave a comment here or send me a message and please let me know about your favorite baby items.
Here are 9 of the items that I LOVED, especially in
regards to twins, but they would also be great for a single baby too! Please remember that the following is just my
own opinion, some might agree while others disagree with the products that I
LOVED!
 |
| Charlotte in the rock-n-play sleeper |
2. Arm's Reach Ideal Arc Original Co-Sleeper Bedside Bassinet – We used this as our
bassinet. It was our intent to use it in
the co-sleeper function, but after having a C-section, we ended up just using
it in the free-standing bassinet form. I
loved it because the weight limit was high enough that it could hold both
girls, so we only needed 1 bassinet!
They slept in this together until they were 3 months old, when we
finally transitioned them into their cribs.
Plus, we continue to get use out of it because it also functions as a
full size pack-n-play when you take the bassinet hardware out. So we use it as a travel bed for one of the
girls when we visit our in-laws in Illinois (we bought another pack-n-play for
the other baby to sleep in).
 |
| The girls in the Arms Reach co-sleeper/bassinet on our first day home from the hospital (and me passed out next to them :-)) |
3. Medela Symphony Breast Pump – This is
specific for twins/multiples only… I honestly feel like having a hospital grade
pump was one of the main reasons I was able to keep up with feeding the girls,
plus pumping extra to freeze and store for as long as I did. I don’t really have anything to compare it
to, but if you are having/have twins and are looking for a pump, I suggest
renting one from the hospital (or where ever else you can rent them from). I calculated our cost for renting, and I was
able to rent the pump for about 7 months at the same price as purchasing a pump
from the store. With Will, I will be
using a Medala Pump-in-Style, so we’ll see how the suction power compares on
that!J
4. Jumperoo – Are you
kidding me?? Whoever invented this contraption was a genius! We had the Fisher Price Rainforest jumperoo,
but I think any freestanding jumperoo would work. This entertained the girls for long stretches
of time (like up to 30 minutes!)! We
only had 1, so the other baby would be in our exersaucer (which we also had
only 1), but they would do great in them.
Violet could bounce forever! They
would play in these while I ate breakfast or lunch, or while I was trying to
get anything else done. I can’t wait to
see how Will enjoys the jumperoo someday!
 |
| Violet in the exersaucer and Charlotte in the jumperoo |
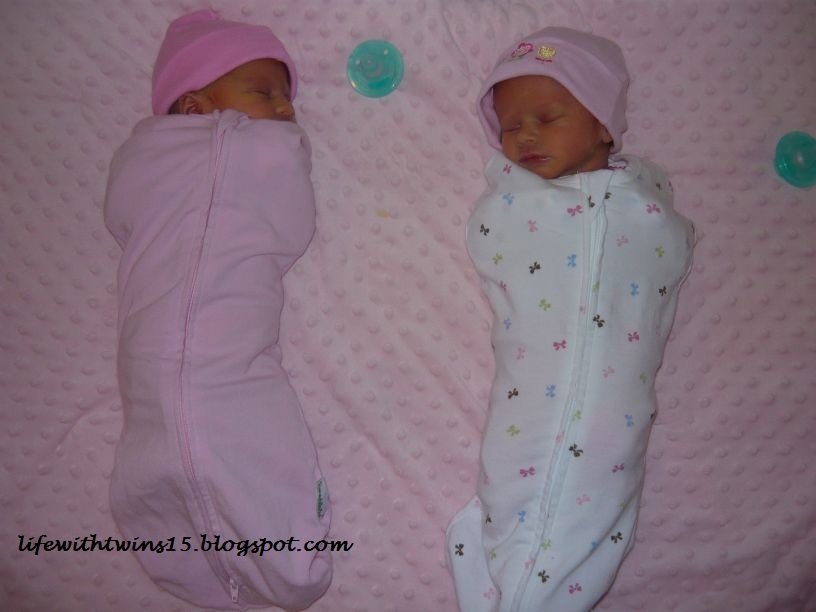
5. Swaddles – Something small that I think is a ‘must-have’ is
some type of swaddle that Velcro or zips shut.
It makes swaddling so much easier. You don’t have to master any special
technique to get the perfect baby burrito!
You just put the baby in, fasten some Velcro, and BOOM, they are all
cozy and snug! It was great in the
middle of the night when you are too tired to think. Plus, my girls were never able to “break out”
of them. We had the SwaddleMe Velcro
 and the Summer Infant Newborn SwaddlePod
 Our girls
were able to fit in them until they were just over 3 months old. After that, we decided to stop swaddling, but
for the first 3 months, these were a life-saver!
 |
| Charlotte and Violet in their SwaddlePods |
6. Vasaline/Petroleum Jelly – Ok, weird, I know! But it seems like newborns have a poopy
diaper every single time. I wanted to
make sure their buns were protected, but I though creams like Desitin were a
little too much for their newborn bottoms.
So, we globbed on Vaseline (petroleum jelly) at every diaper
change. Not only did it protect them
from wetness and keep their buns from getting chapped, but it made yucky messes
easier to wipe off. I also keep a
separate tub labeled “Face”, to use on their nose when it is running all the
time and we are wiping it so much it gets raw.
Their cheeks also occasionally get chapped from who knows what, so I’ll
swipe it on their cheeks every once in a while too.
7. 8. 9. Snap-N-Go Stroller & Infant Car Seat
 & Infant Car Seat Cover
 - Ok, last but not least, is the
combination of an infant car seat, a snap-n-go stroller, and a car seat cover
(during cold weather). I know it means
having to buy more than one car seat, but I LOVED having an infant car seat
(some call it a bucket seat, where you can carry it with baby in it, and it
just snaps in and out of the car). The
girls would always fall asleep in the car, even on the short trip from daycare
to home (or vice versa). Having this
type of car seat eliminated the need to wake them up from a peaceful
slumber! We would just carefully pop it
out and set it inside and let them finish their nap. This is also a reason for a Snap-N-Go
stroller. If the girls fell asleep on
the way to our destination, we were able to attach the car seats to the
stroller without having to wake them. Of course, with a double Snap-N-Go, you become
a spectacle with lots of gawkers, and it’s similar to pushing a bus, but oh
well, it was worth it! We used it for a
long time (probably until they were about 10 months old) because it was how I transported
the girls out of the daycare building and to our car. They were just too big to carry both infant
car seats at the same time. And finally,
the car seat covers we had were awesome.
The girls were born in December, so we had lots of cold weather they
needed to be protected from. I didn’t
want to use a coat on them because then they can’t be buckled into the car seat
safely, so we had the car seat cover that just wraps around the top of the seat
(it doesn’t go under them, which also isn’t very safe). Ours zipped open to get the girls in and out,
and it had a little peep-hole for their faces.
The peep hole also had a flap that could Velcro shut over their faces
while we were hustling in and out of buildings on cold days. If only they could invent these things for
convertible car seats, it would make me feel so much better than just putting a
blanket on the girls now.
 |
| Our infant car seats with the covers on the snap-n-go stroller as we were leaving the hospital after they were born. |
Ok, so those are just a few of the baby items that I LOVED
and couldn’t live without. I could
probably come up with several more items, but then this post would become a
novel! J
Again, this is all just my own opinion, so feel free to disagree or agree with
me.
As we begin the newborn phase again with Will, I’m very
curious as to what else is out there that you LOVED. Please please please share with me in a
comment or a message. I can’t wait to
hear from you!
*Disclaimer: This post contains affiliate links
UPDATE 3/25/14: Since having my 3rd child, my days have become more than just "life with twins." So, I decided to move on over to a new blog!
Come check me out at www.MePlus3Today.blogspot.com!
My new blog deals with kids crafts and activities, mommy ups & downs, and what it's like to suddenly find myself as a 30-year-old widow with 3 kids under the age of 2.
So again, please stop by my new blog, and tell your friends too!
Thanks so much!
~Sarah


